Install and Activate WordRake for Mac
Thank you for purchasing WordRake. Here's how to install WordRake, activate your new license, and start editing with WordRake.
Step 1: Install WordRake
a. To get started, close all documents and quit Microsoft Word.
b. Click the blue button (below) to download WordRake for Word. (If you previously did a trial of WordRake, you can skip this step.)
c. From your downloads folder, double-click the download "WordRakeMacInstall.pkg" to begin installation.
d. Once installation is complete, open a Microsoft Word document and click on the WordRake tab above the ribbon.
/WR%20v5%20Ribbon%20MAC%20Word%202021_WR%20Tab.png?width=850&height=127&name=WR%20v5%20Ribbon%20MAC%20Word%202021_WR%20Tab.png)
Step 2: Activate Your New License
(Important: You must complete this step for your new license to take effect.)
/WR%20v5%20Ribbon%20MAC%20Word%202021_License.png?width=850&height=146&name=WR%20v5%20Ribbon%20MAC%20Word%202021_License.png)
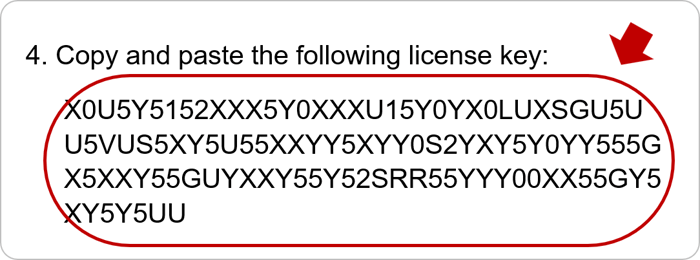
b. Earlier, you received an email from us. It includes your license key and you’ll need it to activate your license. The email should look like this:


Step 3: Editing with WordRake
a. When you’re ready for feedback, select Brevity and/or Simplicity to determine which types of suggestions to receive.
/WR%20v5%20Ribbon%20MAC%20Word%202021_Brev%20or%20Simp.png?width=850&height=132&name=WR%20v5%20Ribbon%20MAC%20Word%202021_Brev%20or%20Simp.png)
b. Next, click the Rake button and watch WordRake analyze your document and suggest improvements.
/WR%20v5%20Ribbon%20MAC%20Word%202021_Rake%20Button.png?width=850&height=144&name=WR%20v5%20Ribbon%20MAC%20Word%202021_Rake%20Button.png)
b. In under one minute, WordRake can make hundreds of editing suggestions that appear in the familiar track changes form. Your suggestions will look like this:

c. Use the WordRake Accept and Reject buttons to keep the edits you like.
/WR%20v5%20Ribbon%20MAC%20Word%202021_Accept%20Reject%20Next.png?width=800&height=139&name=WR%20v5%20Ribbon%20MAC%20Word%202021_Accept%20Reject%20Next.png)
It’s that easy. Have questions? Please contact support and they'll be happy to help!
Additional Resources
- WordRake FAQs
- 15 Ways to Be a WordRake Power User
- Take a Tour of WordRake for Mac
- Report a Bad Edit
- WordRake Release Notes


